
Nagios is a time-tested network monitoring tool that network engineers and systems administrators alike have used since its creation in 1999 to monitor networks and alert engineers if something goes wrong. At some point around 2009, Nagios became Nagios Core so that the company could release some more products. Nagios Core remains free and open source, though.
It has many ways to monitor various network nodes, including ping checks, agents and SNMP. Today, we’ll see if we can just get the server and web interface installed, along with a couple basic ping checks.
Let’s get started!
Topology
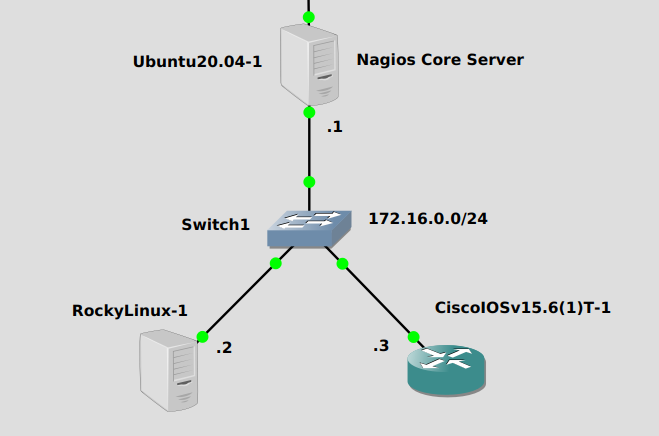
We’ll monitor across a simple subnet of 172.16.0.0/24. We’ll install Nagios Core on Ubuntu server at the top, and monitor the Rocky Linux and Cisco IOSv router at the bottom.
Installation
While it’s possible to install from the standard Ubuntu repositories, that version is very old and doesn’t seem to work very well out of the box. Building the most recent version from source works the best.
There are a number of steps, so I will include comments inline about what commands we’re entering. To install:
#Install necessary libraries
apt-get update
apt-get install -y autoconf gcc libc6 make wget unzip apache2 php libapache2-mod-php7.4 libgd-dev

#Download Nagios Core
cd /tmp
wget -O nagioscore.tar.gz https://github.com/NagiosEnterprises/nagioscore/archive/nagios-4.4.6.tar.gz

#Extract and enter directory
tar xzf nagioscore.tar.gz

#Compile
cd /tmp/nagioscore-nagios-4.4.6/
./configure --with-httpd-conf=/etc/apache2/sites-enabled
make all

#Set up users
make install-groups-users
usermod -a -G nagios www-data

#Install
make install
make install-daemoninit
make install-commandmode

#Install a sample script config
make install-config

#Install Apache config files
sudo make install-webconf
sudo a2enmod rewrite
sudo a2enmod cgi

#Create a user account for nagios
sudo htpasswd -c /usr/local/nagios/etc/htpasswd.users nagiosadmin

#Restart apache
systemctl restart apache

#Prepare for plugins installation. Need plugins to do anything at all with nagios
sudo apt-get install -y autoconf gcc libc6 libmcrypt-dev make libssl-dev wget bc gawk dc build-essential snmp libnet-snmp-perl gettext

#Download and extract plugins
cd /tmp
wget --no-check-certificate -O nagios-plugins.tar.gz https://github.com/nagios-plugins/nagios-plugins/archive/release-2.3.3.tar.gz
tar zxf nagios-plugins.tar.gz

#Compile plugins and install
cd /tmp/nagios-plugins-release-2.3.3/
./tools/setup
./configure
make
make install
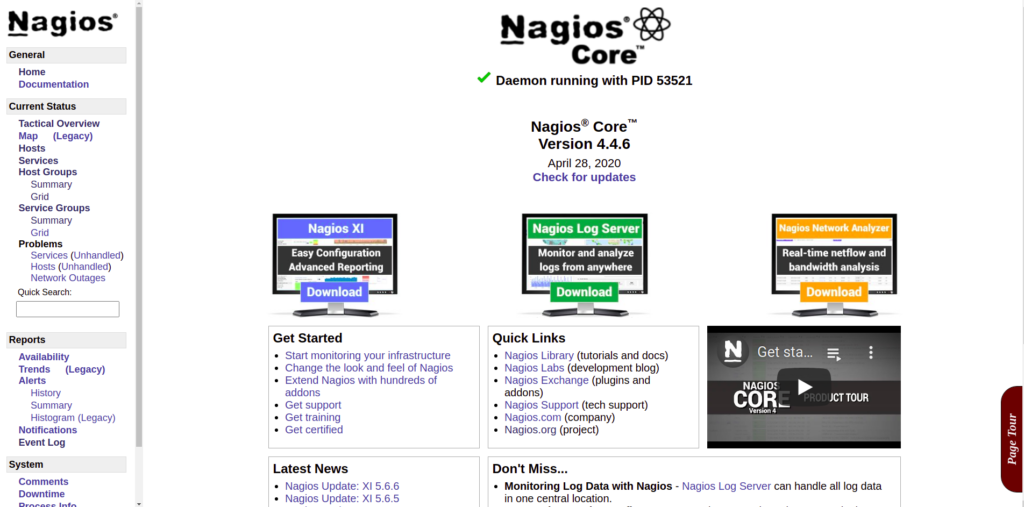
That was a lot! Hopefully you got it installed ok. The nagios web interface can be accessed from http://<fqdn or ip>/nagios. It should look something like this:
Now that we have it installed, it’s time to set up some monitoring. You’d think this could be done via the web interface but it cannot. It needs to be done from nagios config files.
Monitoring Configuration
There are a number of configuration files, they should all be located in /usr/local/nagios/etc/objects. The nagios program itself is located at /usr/local/nagios/bin/nagios, but the installation process registered a service with systemd, so we’ll mostly be using that. We need to create “hosts”, which are other severs, workstations or routers to monitor. We’ll run this script, I have commented in-line:
#Edit the main nagios config file at /usr/local/nagios/etc/nagios.cfg, add line to add a config file called "hosts.cfg"
echo "cfg_file=/usr/local/nagios/etc/objects/hosts.cfg" >> /usr/local/nagios/etc/nagios.cfg

#Write a config to ping hosts
echo "

define host{
    host_name                       rocky
    alias                           rocky
    address                         172.16.0.2
    check_command                   check-host-alive
    max_check_attempts              5
    check_period                    24x7
    notification_interval           30
    notification_period             24x7
}
define host{
    host_name                       cisco_iosv
    alias                           cisco_iosv
    address                         172.16.0.3
    check_command                   check-host-alive
    max_check_attempts              5
    check_period                    24x7
    notification_interval           30
    notification_period             24x7
}

" >> /usr/local/nagios/etc/objects/hosts.cfg
Before you restart nagios and apply the configuration, you can check to see if there’s any errors using a built-in tool that nagios has:
/usr/local/nagios/bin/nagios -v /usr/local/nagios/etc/nagios.cfg
---
<Edited for brevity>

Total Warnings: 2
Total Errors:   0

Things look okay - No serious problems were detected during the pre-flight check
If there’s any errors, it should give you some advice on how to fix them. Otherwise, restart nagios:
systemctl restart nagios
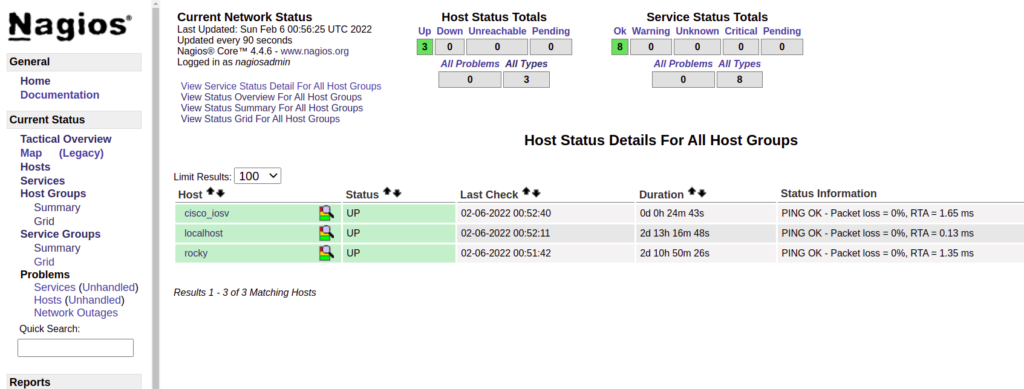
After the checks run, you should be seeing that your hosts are up by click on “Hosts” on the nav bar to the left:
Nagios is a sizeable piece of software and very extensible. There are many things you can do with it far beyond what we’ve done here. However we’ve gotten the core functionality working – pinging stuff.
We’ll take a look at how to do more than that in the next post. Stay tuned!