

Since Redhat has decided to sunset CentOS, it is being replaced by Rocky Linux. You might be surprised at how quickly you can get a server up and running. We’ll also install the nginx webserver just to see how quickly we can get that going as well.
Let’s get right into it.
Download the installer
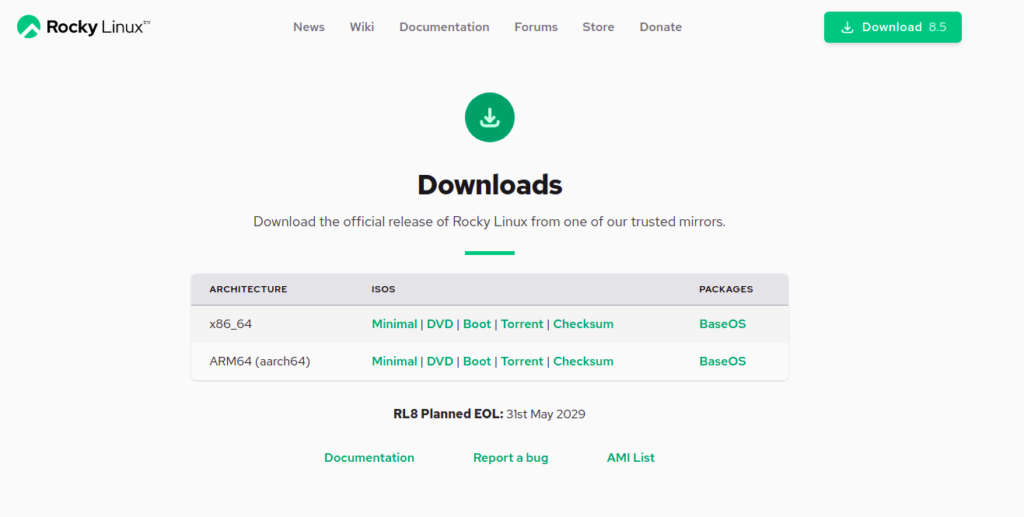
You can get the installer from https://rockylinux.org/download/ painlessly by downloading the minimal .iso image, it’s about 2GB. Once you have that, load it up on a USB (or a DVD, I guess. Does anybody still use those?!) or in my case, Qemu in GNS3 for a VM.
Follow the prompts
We’ll immediately be taken to the installer.
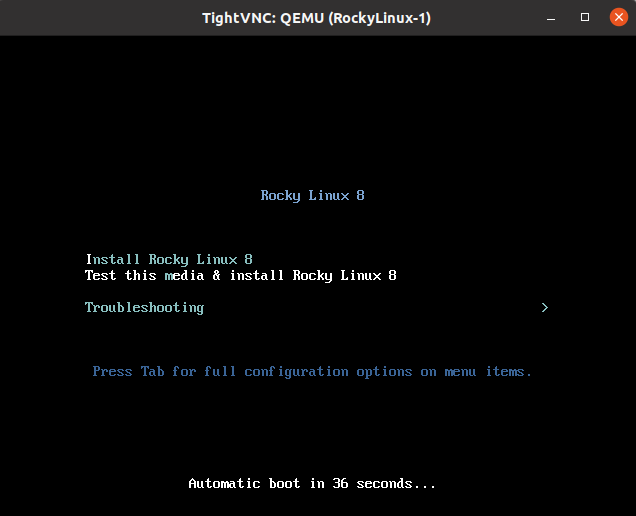
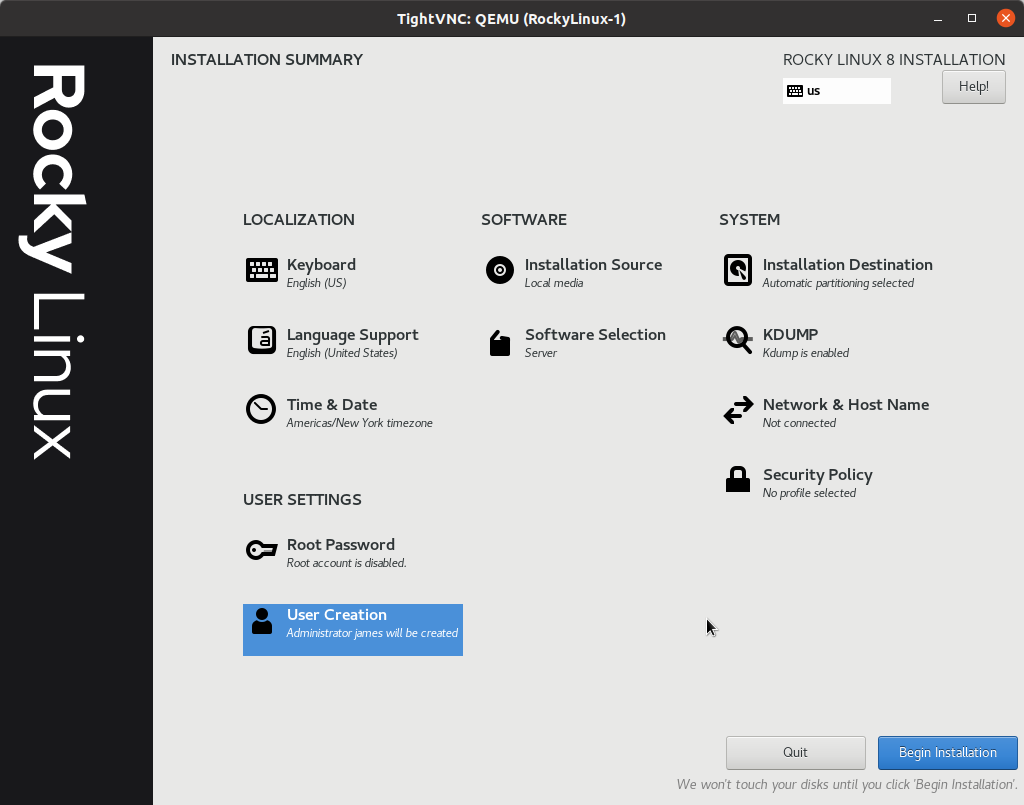
Just select “Install Rocky Linux 8”. There’s just one page where you select your locale, software to install, partitions, etc. We can get through it minimally by just setting the user name and click “Begin Installation”, but feel free to play with the settings.
Installation takes about 5 minutes, depending on what is being installed and how much juice your system has.
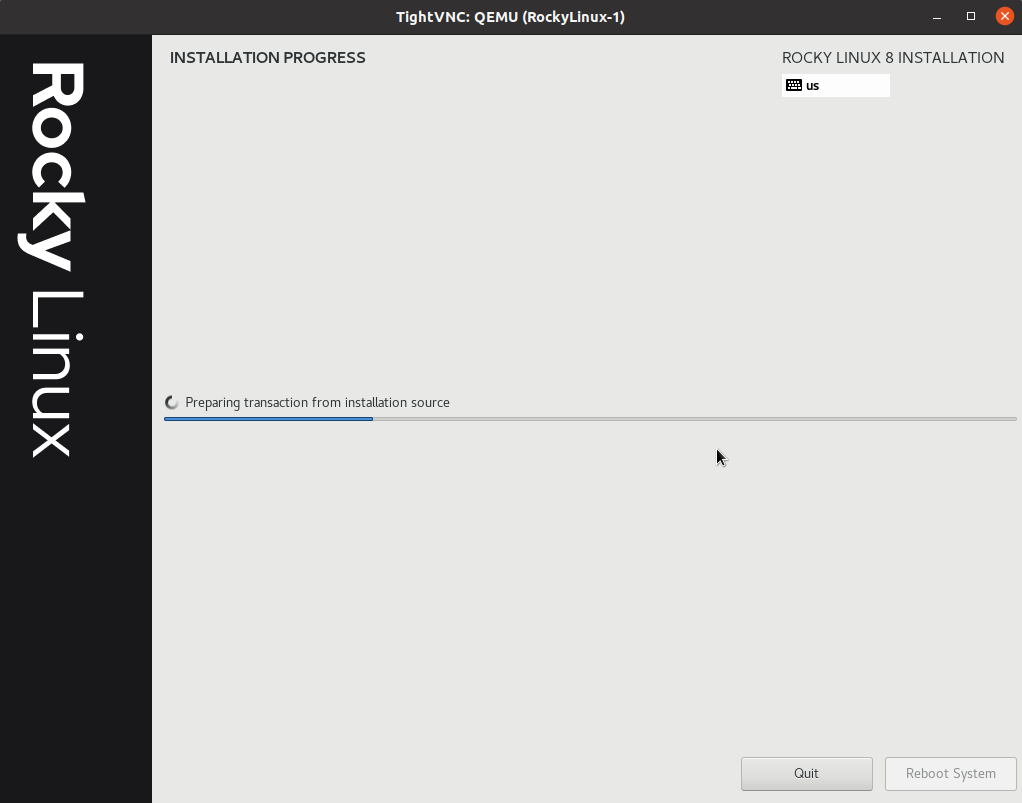
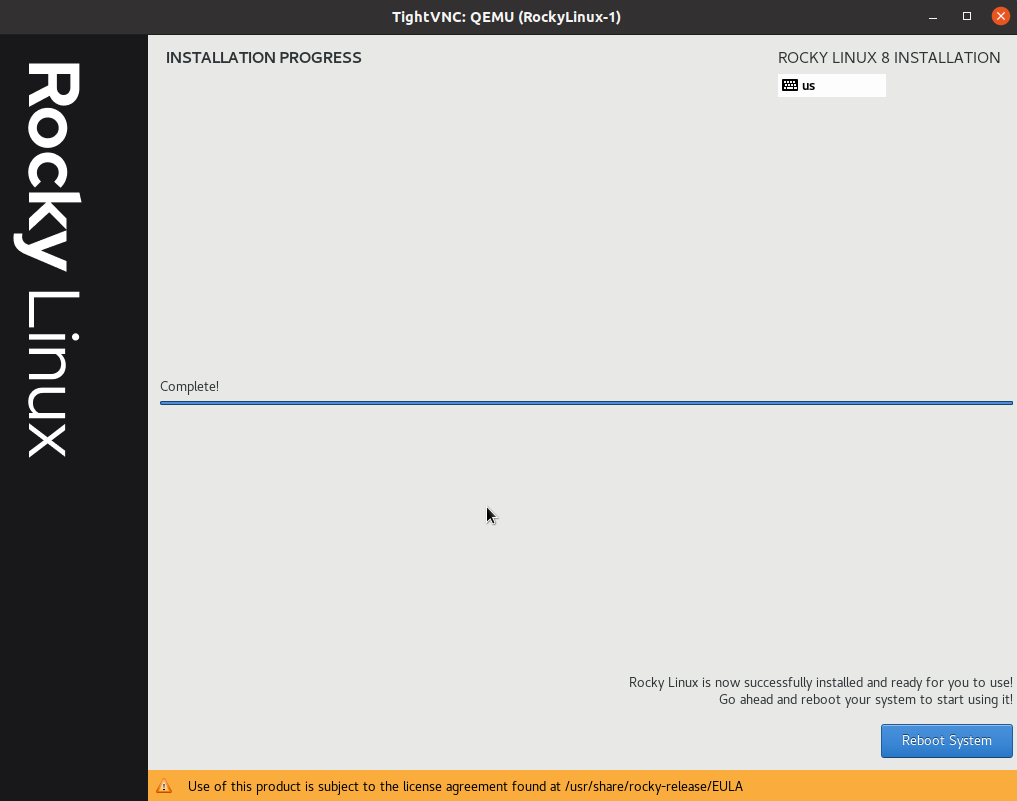
Reboot, and we’re ready to log in!
Install nginx web server
My login prompt came right up:

If you neglected to connect the network on the installation settings page like I did, you’ll need to do that now, using network manager’s nmcli.
nmcli connection modify ens3 ipv4.method auto
nmcli connection down ens3
nmcli connection up ens3
And with that we’re able to get an IP address via DHCP as well as DNS configuration, so Internet is good to go.
Let’s do something interesting – we’ll install nginx web server. If you’re familiar with Redhat commands, it uses the “yum” package manager to allow for quick installation of pre-built binaries. We can install nginx with one command:
sudo yum install nginx
Just that command will get it installed.

We’ll need to start it up with systemd:
sudo systemctl start nginx
We’ll need to allow traffic to come through the firewall. For me this is a test server in a test environment, so I had no issue with turning off the firewall completely. If you are using this in production or it has a public IP address, obviously don’t do that – configure firewalld responsibly to only allow permitted web traffic. To turn the firewall off, just issue this command for systemd:
sudo systemctl stop firewalld
And now I can access the Rocky Linux Nginx default page!
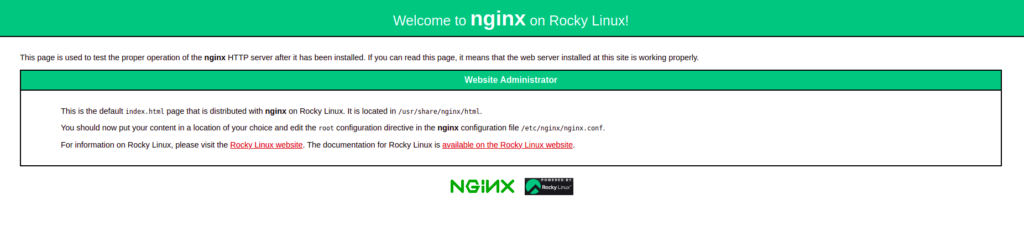
Enjoy your fresh installation of Rocky!